Table of Contents
 This page in German (Seite auf Deutsch)
Please order via email: mail@webtemp.org
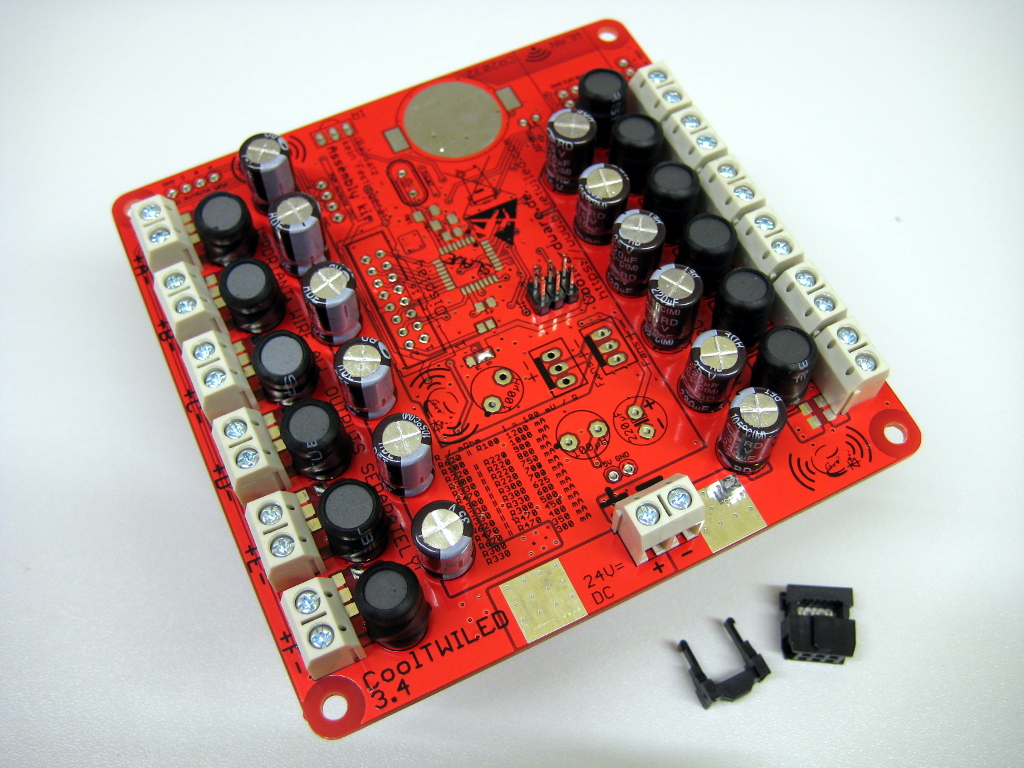
CoolTWILED 3.x SLAVE
This is an extension board (no standalone operation) for CoolTWILED 3.x and BlueTWILED 2.x.
You can connect one or more of these to increase the number of outputs, so there will be multiple outputs “A”, multiple outputs “B”, and so on. Outputs having the same letter behave alike, so it makes sense to connect the same LED colors to the same ports (i.e. White to “A”, Red to “G”, and so on).
For this reason and also to prevent confusion the master and all slave board should have the same current configuration.
The connection is made through the cable of CoolTWITemp 1.x (temperature sensor) (please do not forget to order one).
The technical data of the slave board matches those of the master board, so currents from 300 mA up to 1500 mA are possible per output (A-L).
Pictures
Ordering and prices
We recommend purchasing the Reef bundle (spectrum suitable for corals) or the Fresh water bundle (full spectrum).
CoolTWILED SLAVE is also available without LEDs:
- DIY kit CoolTWILED 3.x SLAVE: 104 EUR plus shipping
Here you need to tell us the needed currents for every LED port in this notation (example):
A: 1000 mA
B: 1000 mA
C: 1000 mA
D: 1000 mA
E: 1000 mA
F: 1000 mA
G: 700 mA
H: 700 mA
I: 700 mA
J: 700 mA
K: 700 mA
L: 700 mA
Optionally, all the Slave boards are also available with two fan ports for additional cooling fans. These will behave exactly like the ones connected to the Master board:
- Surcharge SLAVEPLUS (fan ports): 10 EUR
Assembly
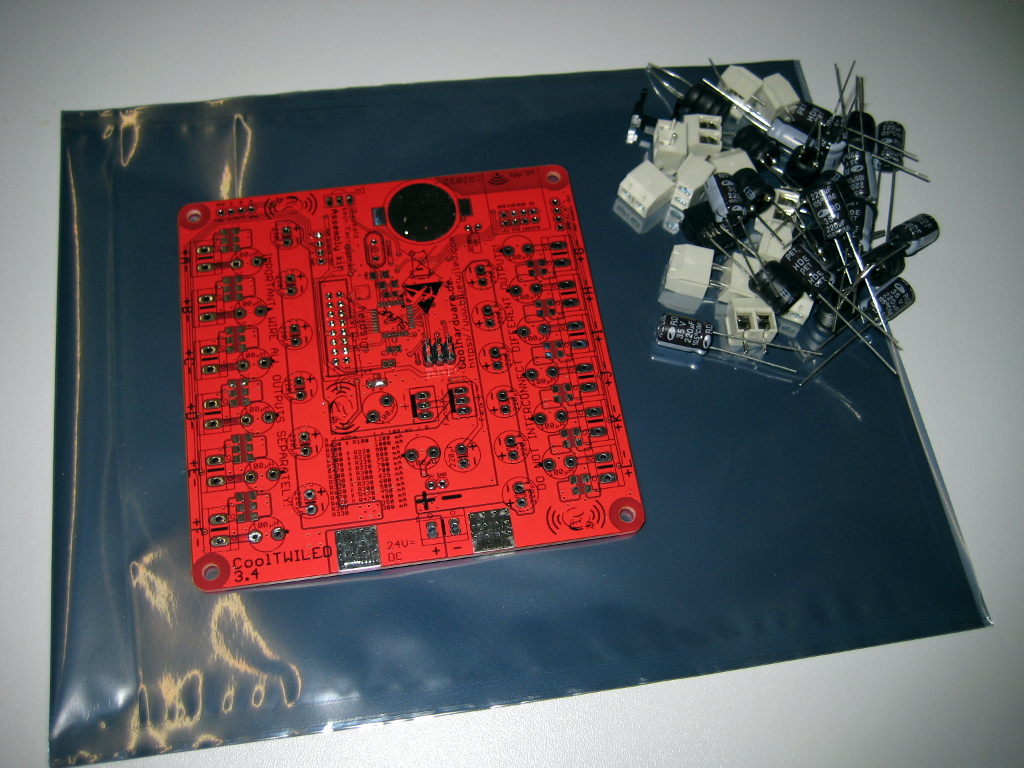
The board is pre-assembled with SMD parts and is shipped along with all needed THT components.
Please solder carefully, temperature controlled and using a “no clean” solder wire. Please do not clean the solder joints. Keep the static shielding bag. Avoid static discharge and swarf (for example during and after metal works on your lamp).
Pay attention to the polarity of the components.
Animation of the assembly process:
Download video / full screen
Some detailed notes on soldering can also be found in the Frequently asked questions. If there still are questions, difficulties or doubt, please send an email: mail@webtemp.org.
There are 4 mounting holes on the board. Please use appropriate screws and spacers to avoid short circuits. A mounting kit can be ordered separately. Mount CoolTWILED directly onto the aluminium plate that also carries the LEDs. This will keep the cables short and ensures proper cooling.
Connection to the Master board
Connecting the power supply / the LEDs
Please see CoolTWILED 3.x.
 02:42:33 up 307 days, 20:45, 0 users, load average: 7.32, 8.64, 9.18